Copyright © 2020 Traco Systems a.s.
version 2020.3
Introduction
Traco Preview Server is a Windows service for generating preview images for Traco MetaCaptions which are created in Traco GFX.
Installation prerequisites
Before You Begin
- Identify the IP address of the computer where Traco Preview Server will be installed.
- Obtain Traco Preview Server installation package.
Hardware and Software Recommendations
- Memory: 8GB+
- OS: Windows 10, Windows server 2012 R2 or later
- Disk Usage: 50GB+ (software + logs + images)
- Network: 1Gbps Ethernet interface
- .NET Framework 4.5.2 or later
Network Communication Requirements
- Service is listening on a specific (configurable) port for receiving new requests from Traco ACS.
- In case of multiple service instance installation of Traco Preview Server, each service instance needs read/write access to network shares where their image cache is located.
- General Network Communication Diagram (Port Usages)
Installation
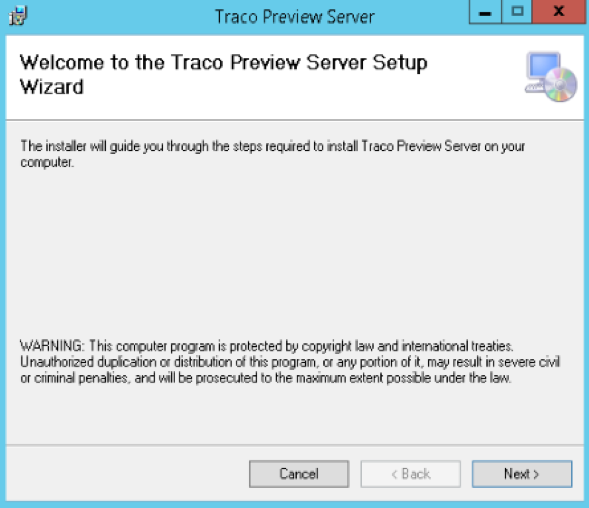
- Run the installer and continue with the installation steps.
- Configuration
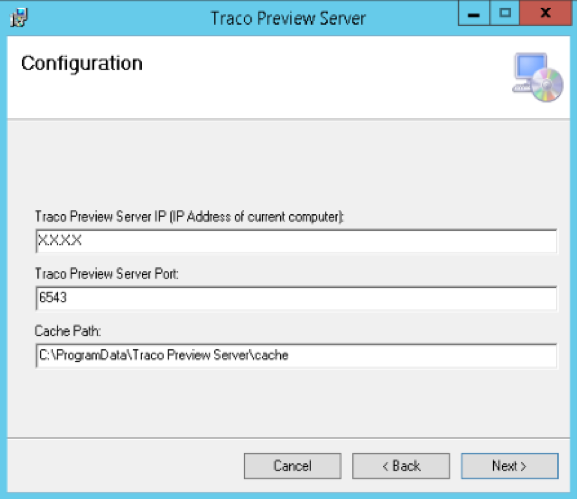
- Traco Preview Server IP: IP address of the computer where Traco Preview Server installer was executed.
- Traco Preview Server Port: Port for incoming jobs.
- Cache Path: Folder for the image cache.
- Select installation folder.
- Confirm the installation.
- Close the installer.
After the installation, Traco Preview Server will be listed as windows services. By default, the service does not start automatically, so it needs to be started manually. The service has to run under a Windows user, who has access to the image cache.
Configuration
Configurations during the installation are saved into the service’s configuration file and are available for later modifications. The configuration file is in the installation directory and it is named as Traco Preview Server.exe.config.
After making changes in the configuration file, the service needs to be be manually restarted.

- ipAddress: IP address of the computer where Traco Preview Server installer was executed.
- port: Port for incoming jobs.
- workingDirectory: Directory for temporary files.
- logFolder: Folder for service's log files.
- ffmpegLogFolder: Folder for ffmpeg logs.
- logLevel: Logging level
1 = Info + Error
2 = Info + Error + Warning
3 = Info + Error + Warning + Debug - logFileExpiration: Time intervall in months. Log files older then this value, will be automatically removed.
- pngFolder: Folder for the image cache.
- pngFileExpiration: Time intervall in days. Files older then this value, will be automatically removed from pngFolder.
- pause: Delay in milliseconds between attempts to send response in case of image creation failure.
Redundancy
Traco Preview Server can have multiple service instances installed on different machines, or multiple instances running on the same machine with shared image cache to achieve high availability. The installation of additional service instances is done in the same way as it is for a single service instance installation.
Troubleshooting
Log files can be found in folders defined in the configuration file. The default locations are C:\ProgramData\Traco Preview Server\logs and C:\ProgramData\Traco Preview Server\ffmpegLogs.
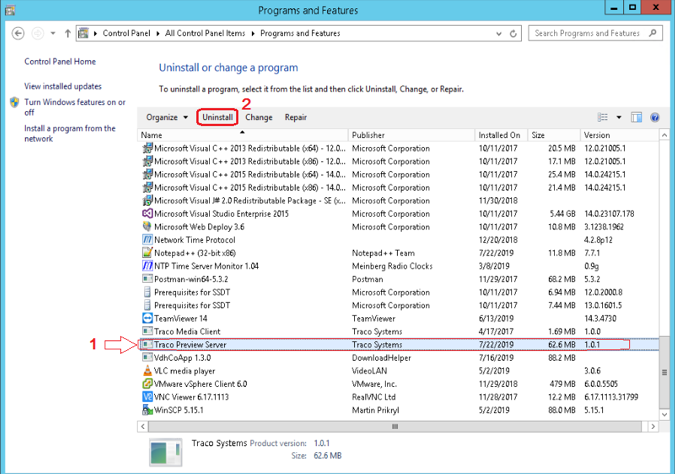
Uninstallation
- To uninstall Traco Preview Server it is necessary to stop it's Windows service.
- If the service is stopped, it can be uninstalled as a regular Windows application from the Programs and Features.